5 Free Family Resources

Don’t be selfish . . .

5 Free Family Resources


I move way too often! But at least I know that there are some great resources waiting for me where ever I moving to.

I could make a much longer and better list if I were just posting about my area. But this is a list that covers MOST areas, with pretty basic free activities/resources.

Here are 5 that my family uses… a lot!

1. The Library.

5 Free Family Resources

I know that it sounds boring, but give it a shot.

Have you heard about a great new book? Go to the library. Is there a movie that you have been wanting to see? Check out the library. Want to get your kids into reading and meet other families doing that same? Check out your libraries programs.

My local library system is amazing! We go down to the library to join toddler time and story time almost every week. There is also educational play time on Fridays and friends of the library where they have animals or performances every now and then.

Sometimes we go to the library and let Elora pick a book and DVD and Dave and I pick one out for ourselves.


2. Join a Church!

5 Free Family Resources

I personally go to a great Seventh-Day-Adventist church that is very active. I run the family ministries for our church.

Every Sabbath we have Sabbath school (Sunday School) for Elora. Music, snacks, bubbles and friends. Like the idea of a Gymboree class but gasp at the cost? Church in the kids department is a lot like those expensive classes, but they are free!  I keep thinking about joining a Sunday church as well just for the benefits for Elora.

They always say it takes a village… well church can be that village. You have people of all demographics who know and care about your family. They help mold your child’s character (if you let them)

Family Ministries sponsors camping trips, retreats, game nights, hikes and play dates. We also are doing a weekly mommy boot camp.

Give Church a chance, you might even get something deeper and more personal out of it 😉


3. Local, City, State and National Parks

5 Free Family Resources

Local parks often have playgrounds. You can get in a workout using the jungle gym while the kids play! Feed the ducks, go for a hike, take a picnic… utilize your near by outdoor spaces.

The parks in my city have free concerts in the summer and art fairs in the autumn. Some parks host Fairs and Festivals of all sorts including renaissance fairs.

State and National Parks often have Nature Centers with free children’s programs.


4. Historical Societies and Museums

5 Free Family Resources

Many towns are proud of their history and often have at least a small museum dedicated to the story they are a part of. Find yours. Take the family and teach your kids about the place they live. Many of these small museums are actually very surprising and offer a pretty good experience for children.


5. Clubs, Meetups, Groups

5 Free Family Resources


These can be harder to find. However, many times a good Google search will do the trick. Also, here is another good reason to join an active church.

You would be surprised how many groups of people are looking for others that are into the same activities or subjects that they are into.

There are free play groups, biking and running groups, cooking and crafting, sewing, camping and so on . . .

Be brave and join a group to help enrich your family’s lives.


 Don’t be selfish . . .
Baby Swing!

Don’t be selfish . . .


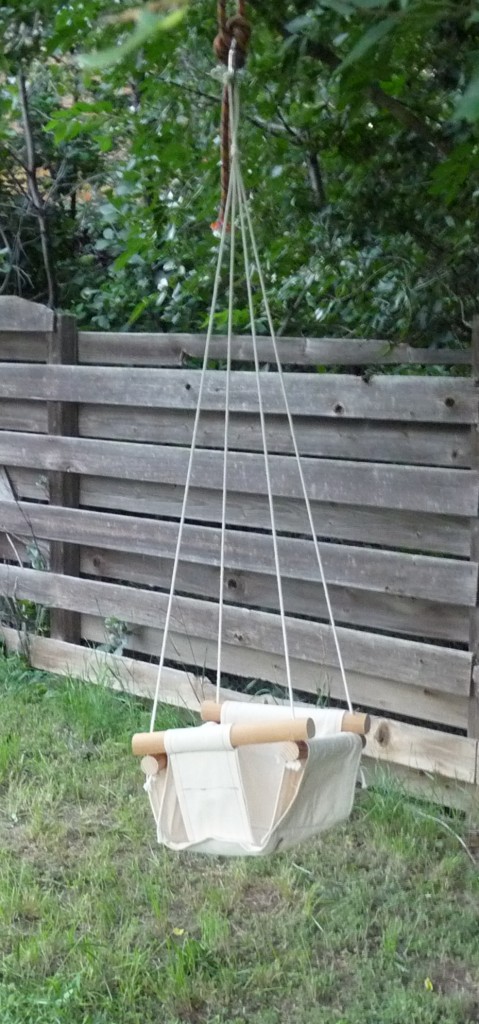
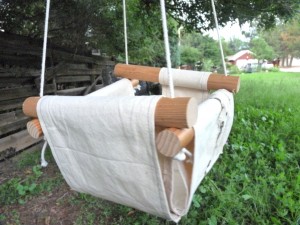
I have seen these on pinterest and for sale on Etsy. I am awful at following tutorials but I at least read through this one first. http://onesassyhousewife.blogspot.com/2012/07/swingin.html (She has a lot more pictures of the process then I have and did a lot more work and spent more) Then I improvised and made my swing in under 2 hours. I would have been faster except I kept stopping to play with Elora. Baby Swing!

Baby Swing!

Okay, lets get started!

  • First you need to get a yard of canvas material, or other strong fabric of your choice.
  • Next, get large dowels from your local lumber store. Or, if your as CHEEP as me, then go to a ReStore or other used building materials type store and buy some stair railings for $0.50 that you can use on many projects to come.
  • Have a drill
  • Rope
  • Sewing Machine
  • And a tree or other strong secure place to hang it in.

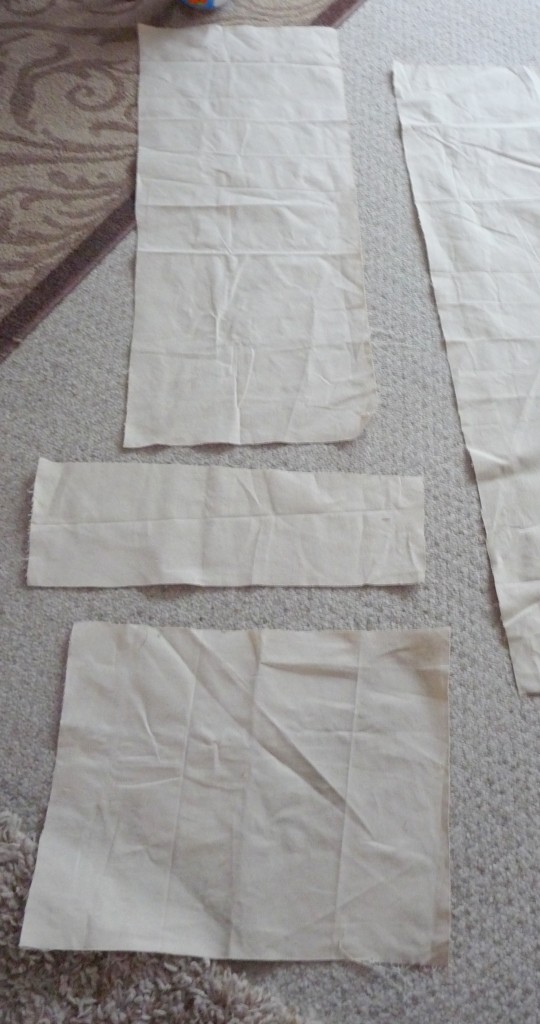
Cut the material into 3 pieces.

  1. About 4 feet long and at about 1.5 feet wide.
  2. About 1.5 feet long and about 6 inches wide.
  3. about 1.5 feet long and about 1.5 feet wide.

I am sorry that I didn’t measure as I cut. I have a very photogenic way of doing things. I had a picture in my mind of how I wanted Elora to fit in it and how it would fit a future baby and I just eyeballed and cut.

Baby Swing!

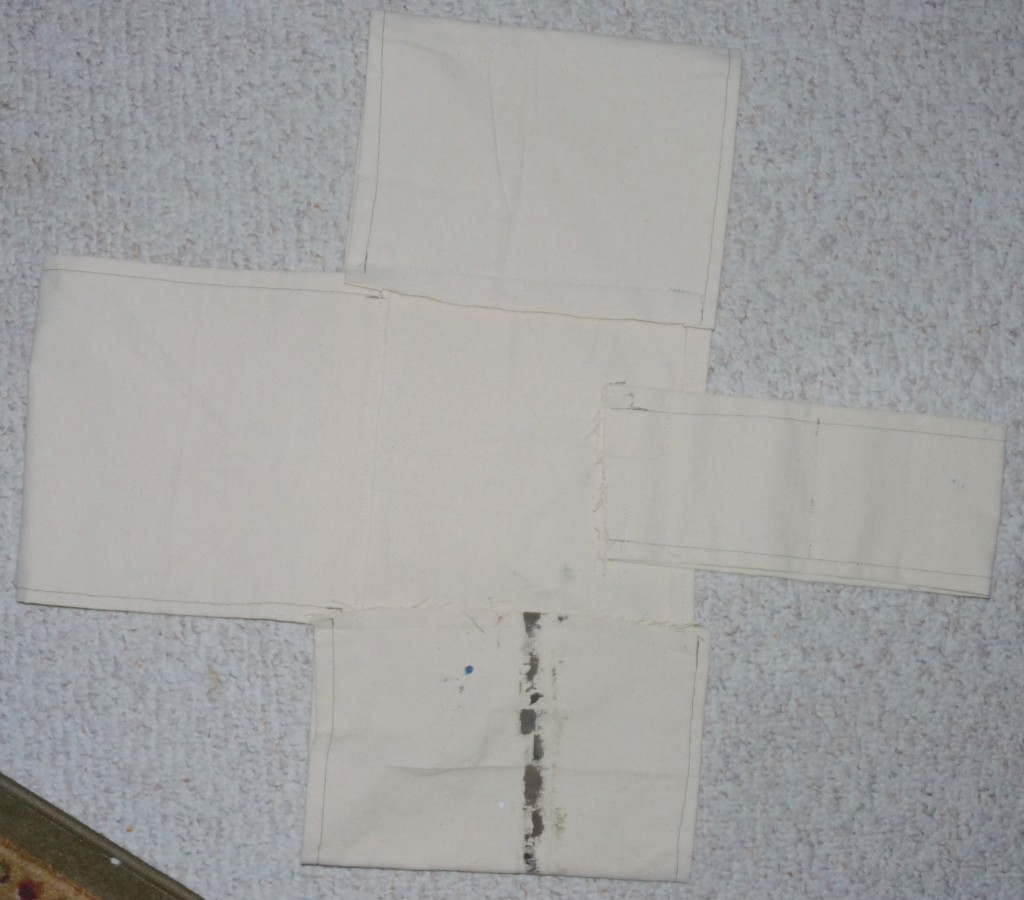
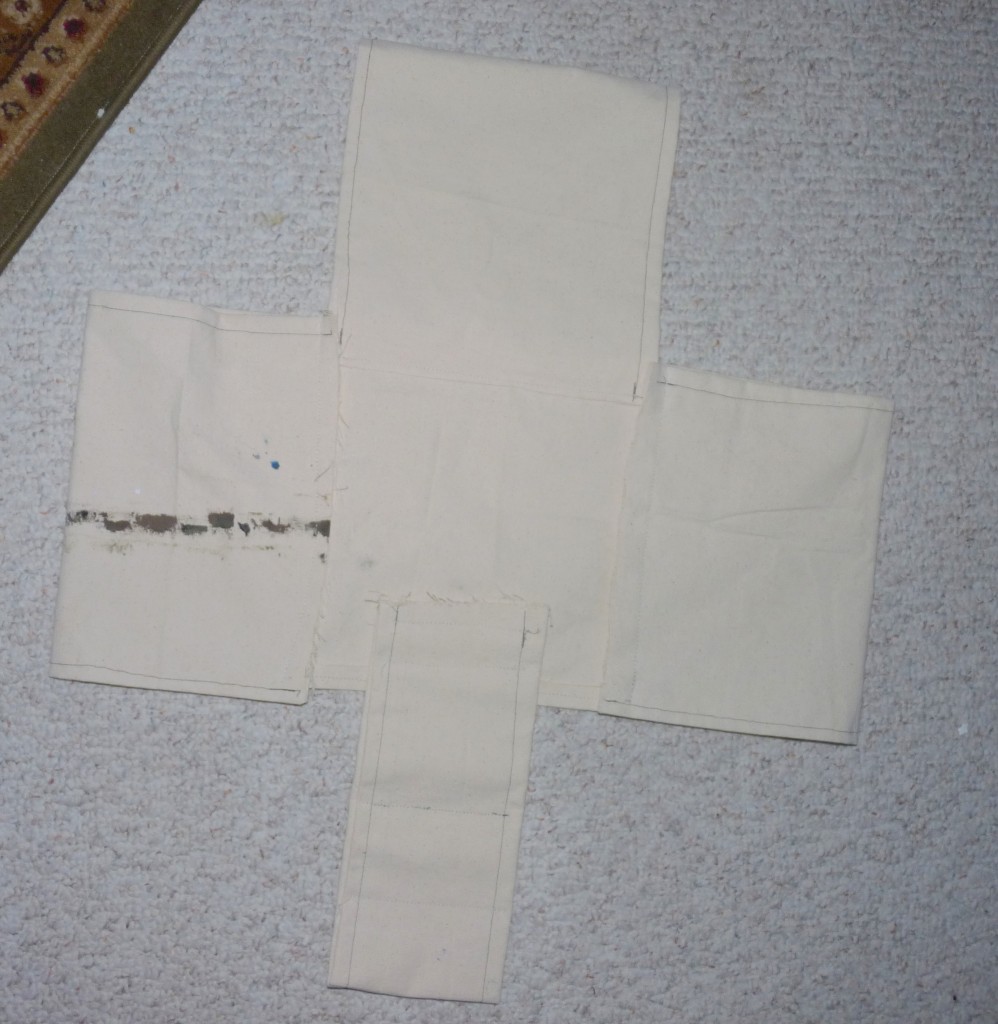
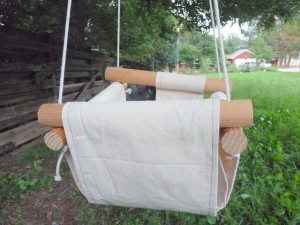
Now you need to sew the seams and then sew the pieces together so they look like this. (I doubled them back in many places) The crotch section I created two different slots for the dowel to go in so that I could change it for a baby so the face wouldn’t be at the bar part. (you can see that this canvas had been a drop cloth for my art)

Baby Swing! Baby Swing!


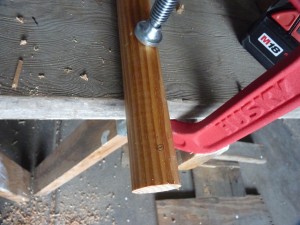
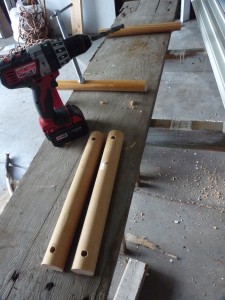
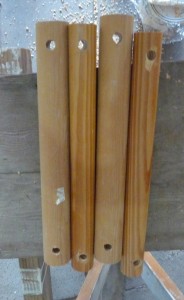
Now drill holes into the dowels at each end by first marking the spot and making sure they will line up over eachother. Choose a drill bit that is large enough for the rope to fit through but small enough that your dowels keep their strength.

Baby Swing!  Baby Swing!  Baby Swing!

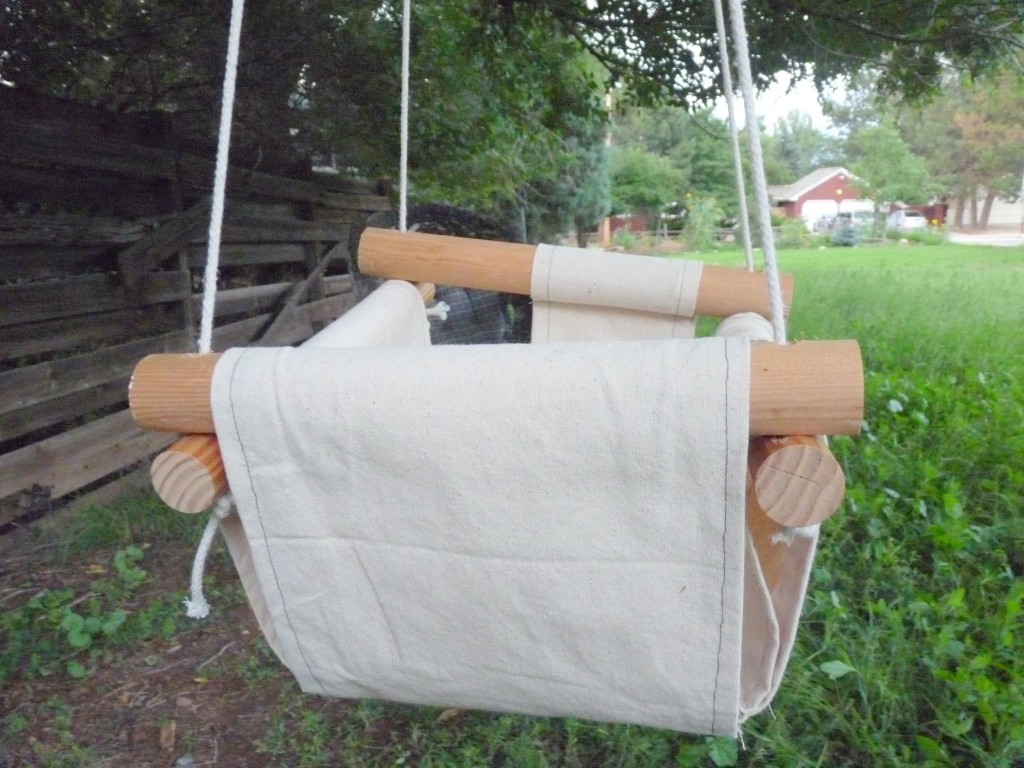
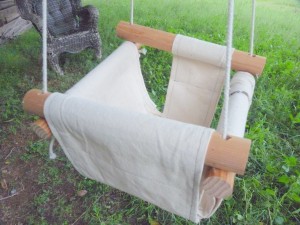
Now just slip the dowels through the canvas and the rope through the dowels. Tie the rope together meeting in a point at the top, if you want the swing to be able to spin without the rope twisting and untwisting. I then used a carabiner to clip it on so that I can take it down easy to adjust for baby or toddler.

Baby Swing!


Now you have a baby swing!

Baby Swing! Baby Swing! Baby Swing!

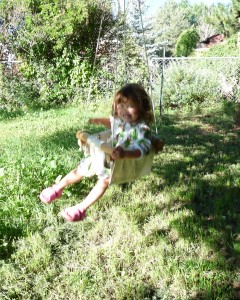
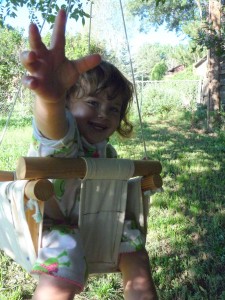
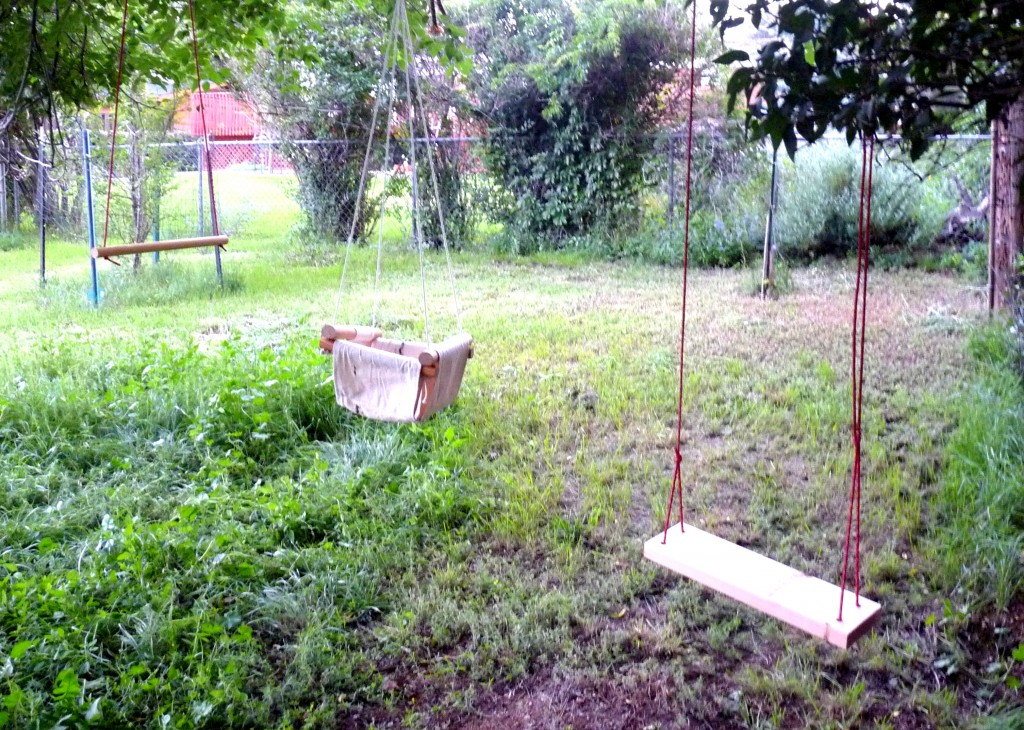
WARNING! child may love it so much that you find yourself pushing them for an hour at a time. Notice the wicker chair in the background? I sit there and read or work on this blog while she swings within reach and I keep it going.

Baby Swing! Baby Swing!


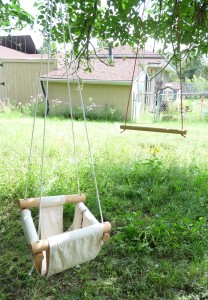
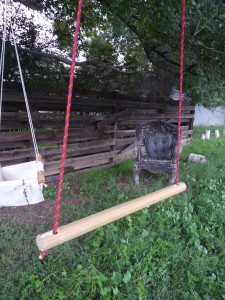
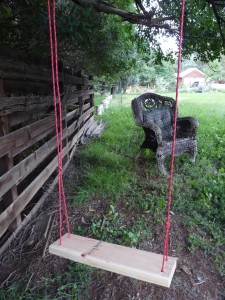
I was on a roll and decided to make two more swings for our “tree set” I made a trapeze and classic wooden. (the wooden one is about to be replace with a wider wooden one for stability reasons.)

Baby Swing!   Baby Swing!  Baby Swing!

Baby Swing!

Don’t be selfish . . .

Maxi Sheets :)

Don’t be selfish . . .

Maxi Sheets :)

Okay, so, I went through a stage of buying all these sheets at the thrift store with intentions of using them for fabric and making pillows, cloths and the like. Instead they were neatly and not so neatly stored in Tupperware down in the crawl space until this summer when I pulled all my fabric out and started way too many projects. By the last month of summer I had 5 projects going and none finished. Determined to get the place clean before we hosted a catered business event, I stayed up late sewing on the fly.

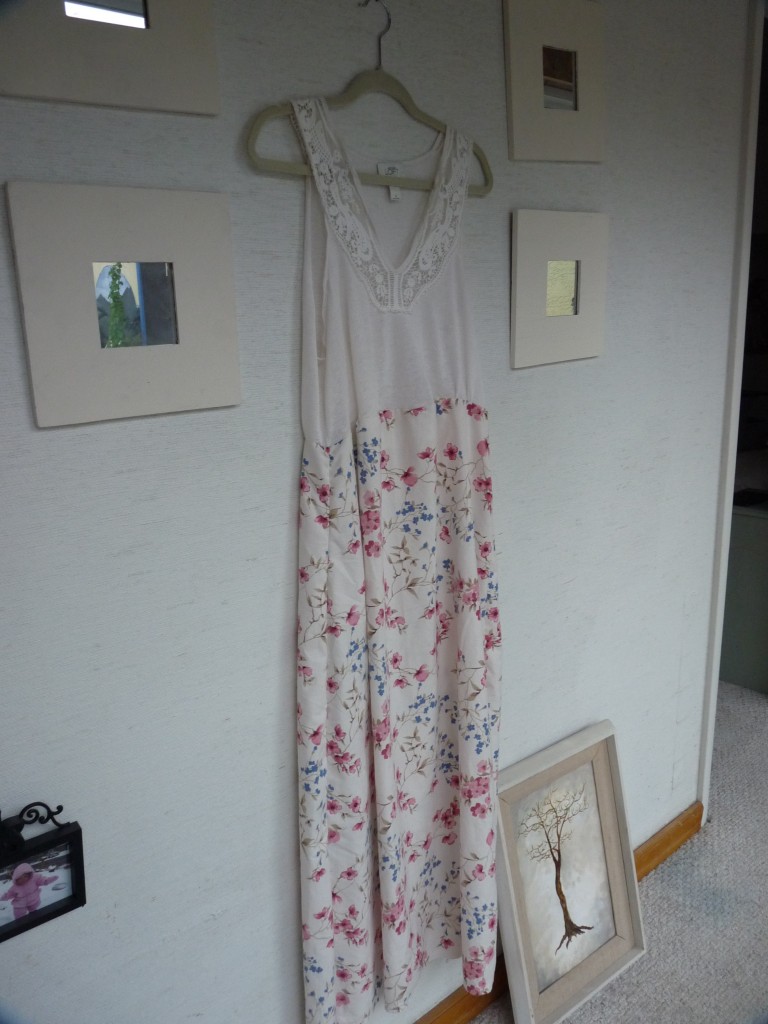
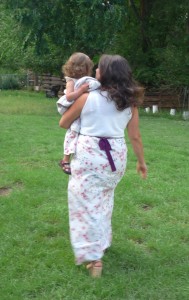
This maxi dress is one of the results of my no-pattern, fast sew projects.

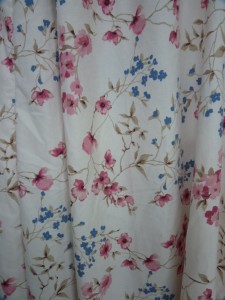
First buy a sheet you like. I got a king sized one and I am glad I did for a number of reasons.

  1. I messed up when cutting the skirt out and underestimated my size :/
  2. I made another maxi dress using the same cloth (I’ll post that one later)
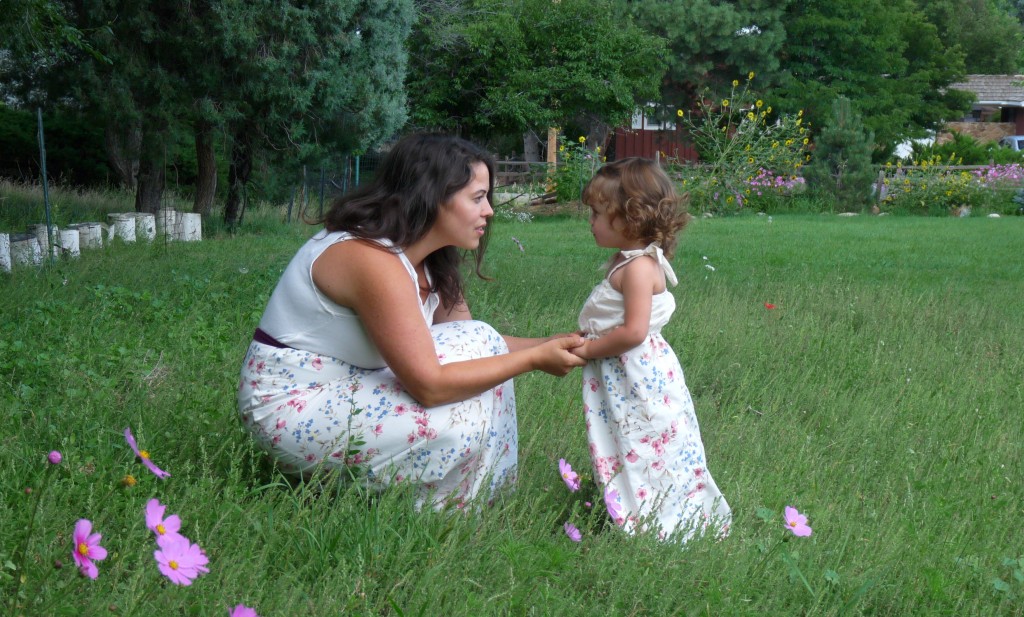
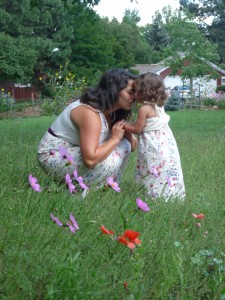
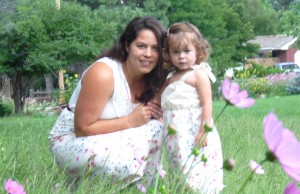
  3. I made a little mini-maxi for Elora that matches mine (scroll down to see)

Maxi Sheets :)


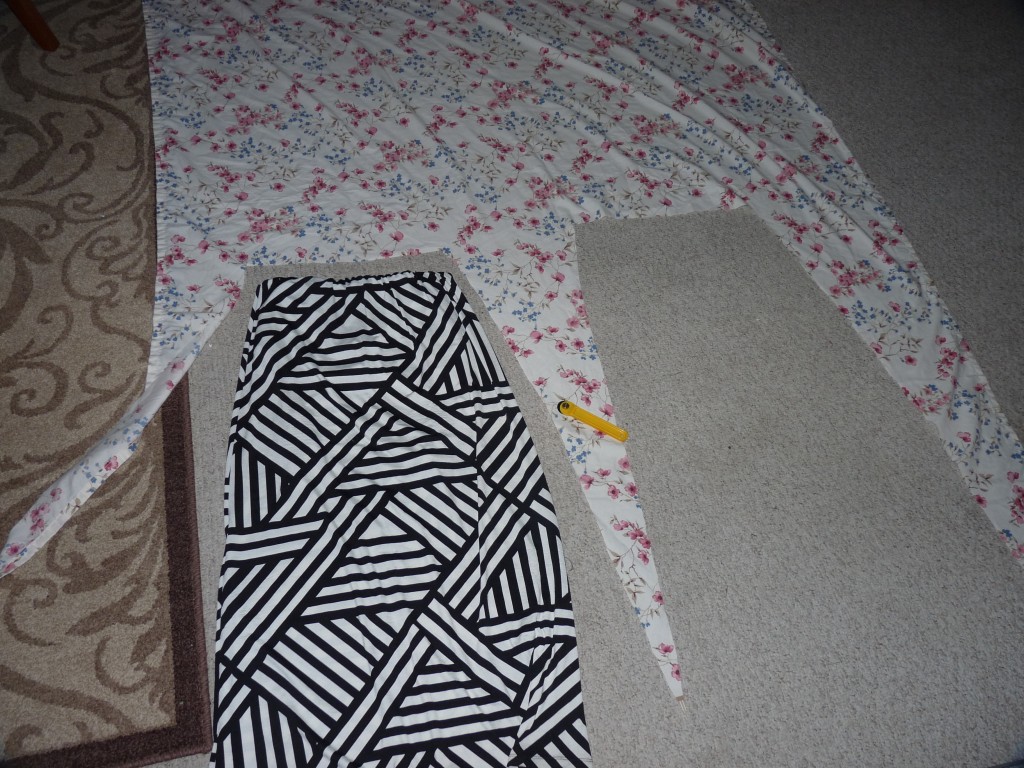
I cut the shape and size out using my store made dress. And then I cut again because I needed it larger. So, remember that a maxi dress looks lovely flowey and not so good tight so over estimate rather then under estimate Maxi Sheets :)

Maxi Sheets :)


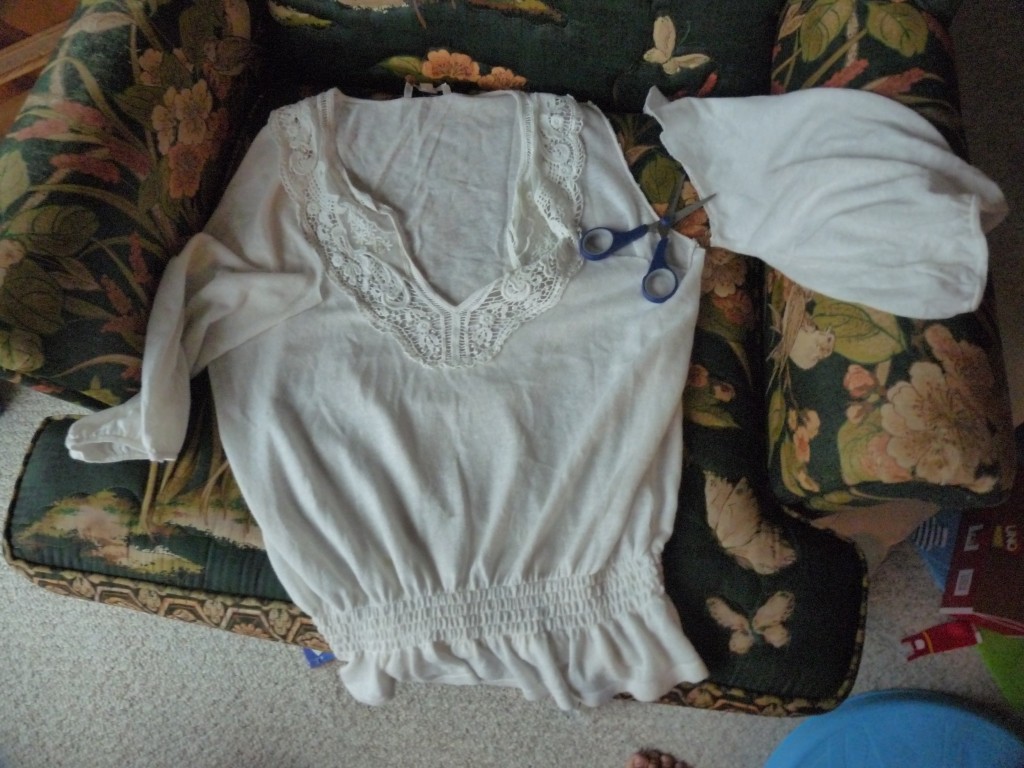
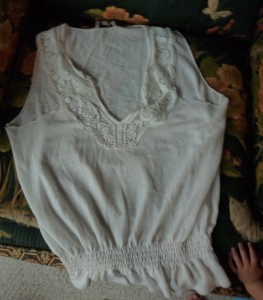
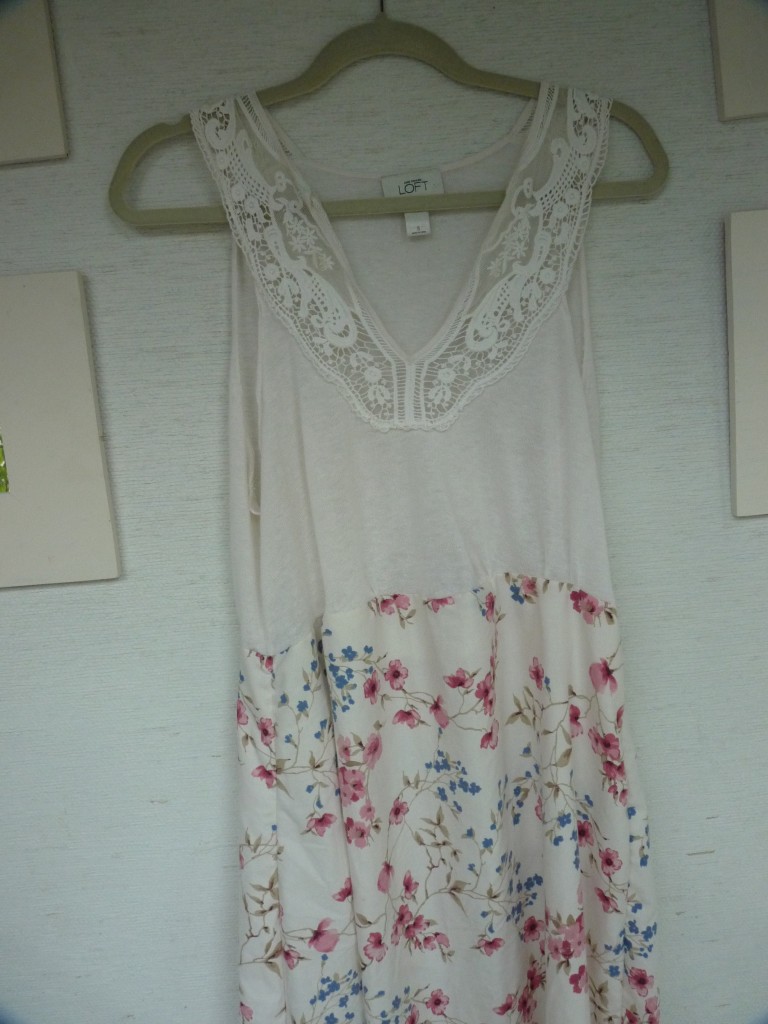
I also bought a sweater like shirt from the thrift store that day to use as the top of my dress. (I will no longer sew with this type material…way to hard for a beginner like me) I cut the sleeves off the top allowing the seams to stay with the shirt as much as possible so that I wouldn’t have to create new seams.

Maxi Sheets :)Maxi Sheets :)

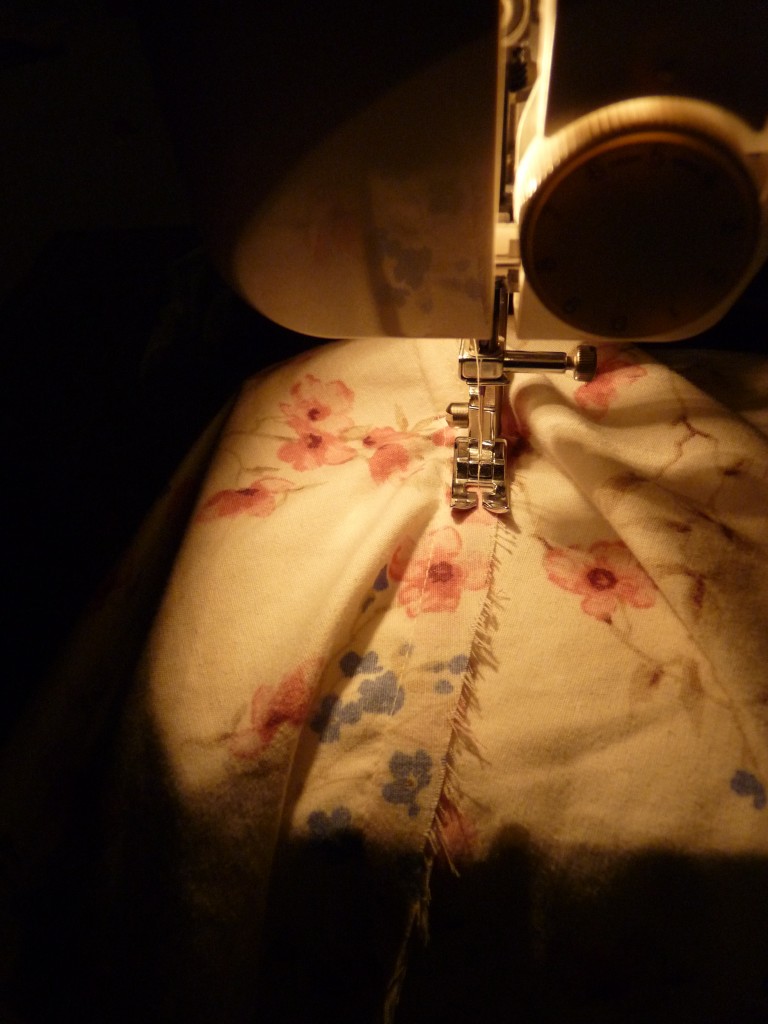
Now sew skirt together and remember to take your time on the hem (you can also add lace or ruffles on the bottom).

Maxi Sheets :)

Sew the waist band on the skirt so you can pull elastic through at the waist. Sew the top on at the waist (Try it on before this last step and mark on the shirt with chalk how high you want the skirt to go on your midsection). Sew all together and your done!

Maxi Sheets :) Maxi Sheets :)

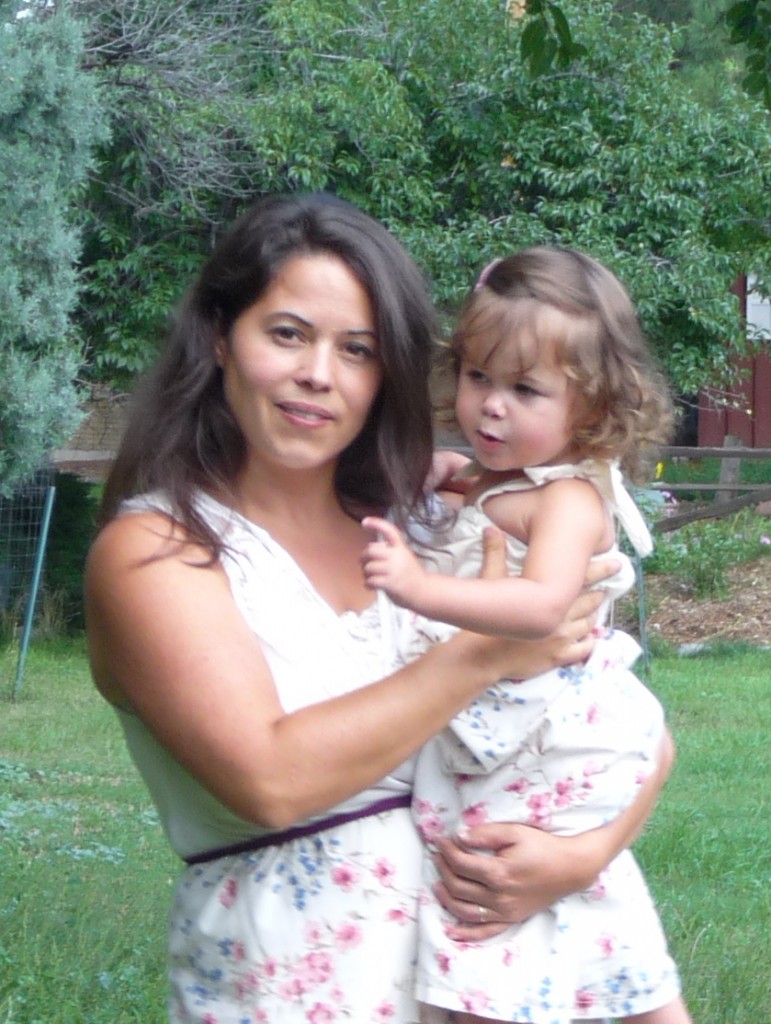
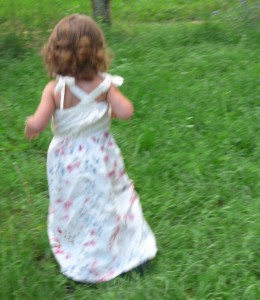
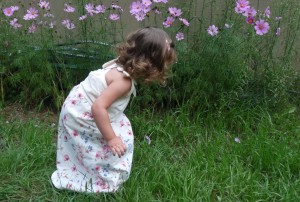
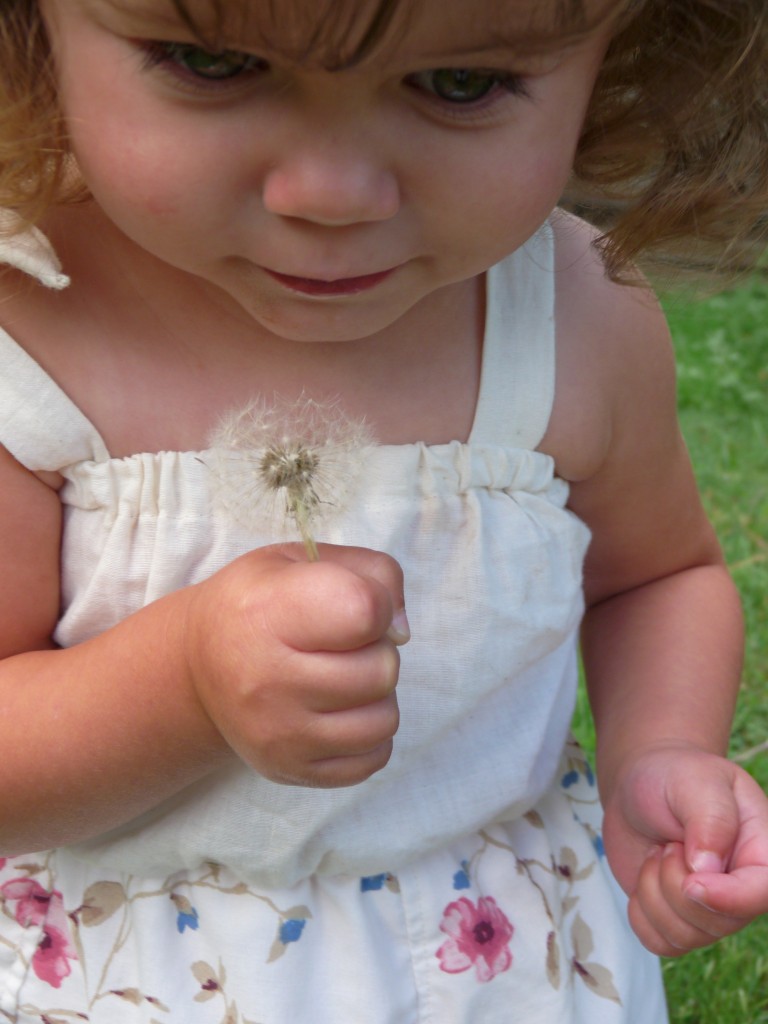
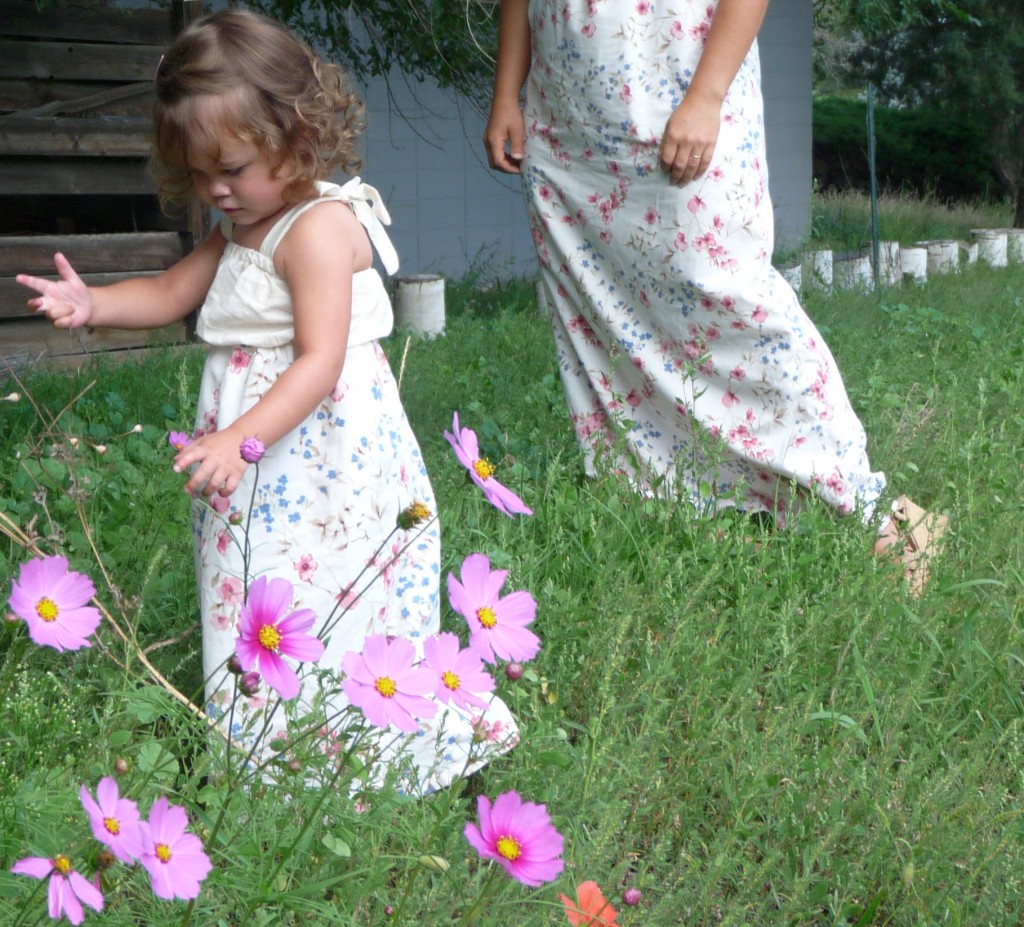
I used the lefts overs to sew a mini maxi for Elora. I used muslin and elastic for her top and the straps are just the muslin sewn and cut to tie together on the shoulders.

Maxi Sheets :)

Maxi Sheets :)   Maxi Sheets :)   Maxi Sheets :)

Maxi Sheets :)   Maxi Sheets :)   Maxi Sheets :)  Maxi Sheets :) Maxi Sheets :)


Don’t be selfish . . .

The Night Sky

Don’t be selfish . . .


The nursery is sort of cute. Mostly it is designed for sleep and with the idea that it should be gender neutral so that we don’t have to re-decorate for every child. The thing that took the most time was the ceiling.

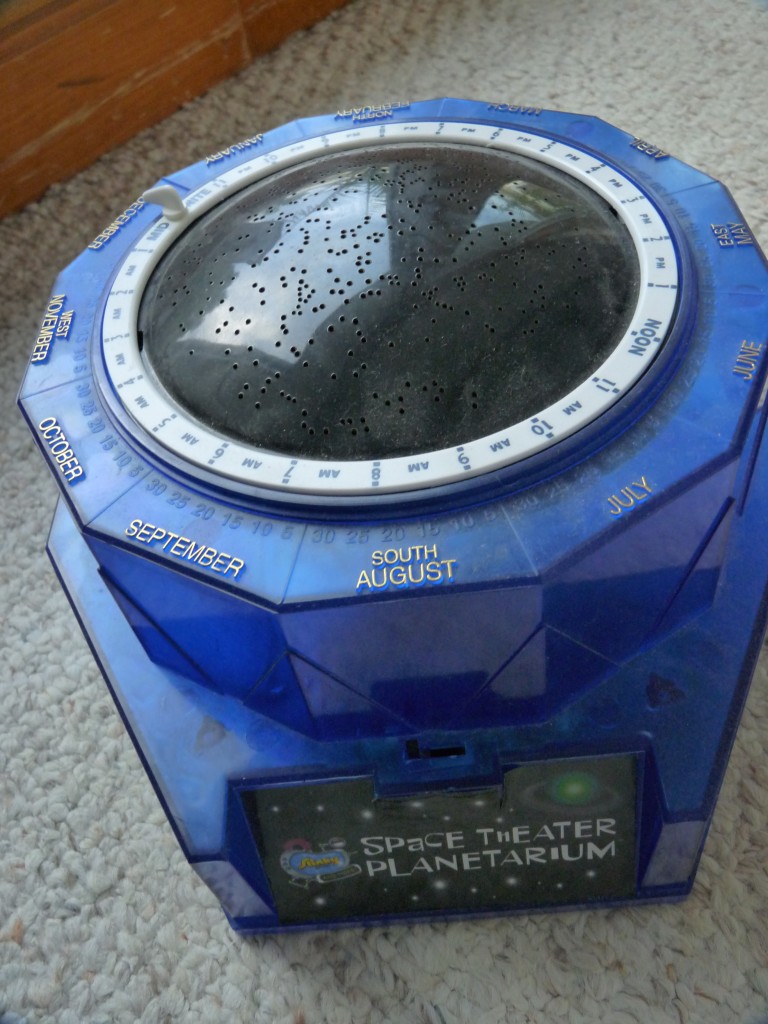
To start, I painted it a very deep blue/grey. We researched and purchased a toy planetarium to project the constellations onto the ceiling and mark them with a pencil.

The Night Sky


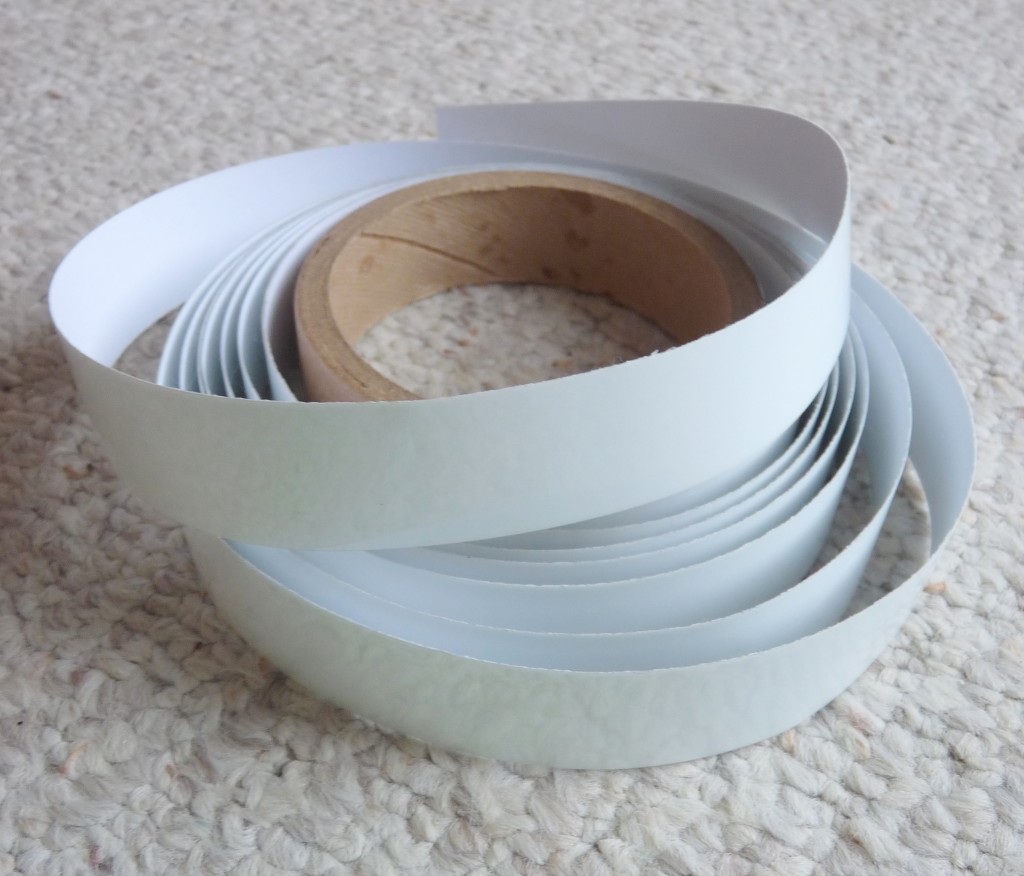
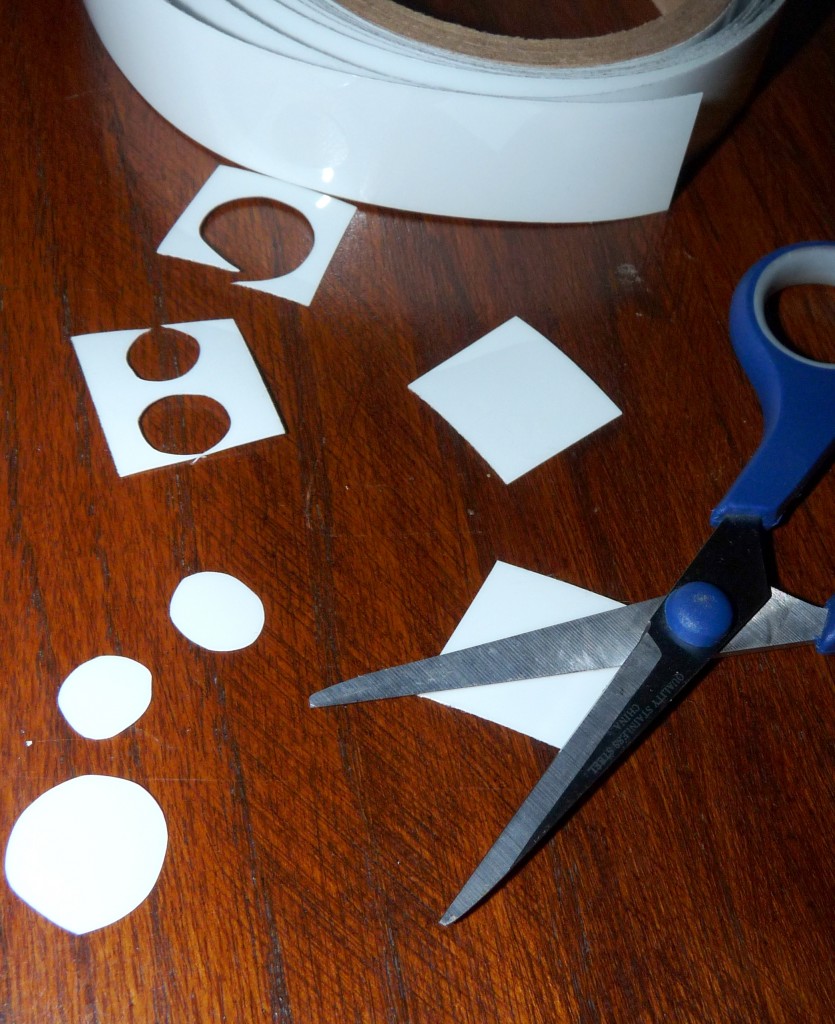
Then I bought emergency glow int he dark tape and cut circles of different sizes out.

The Night Sky


The Night Sky

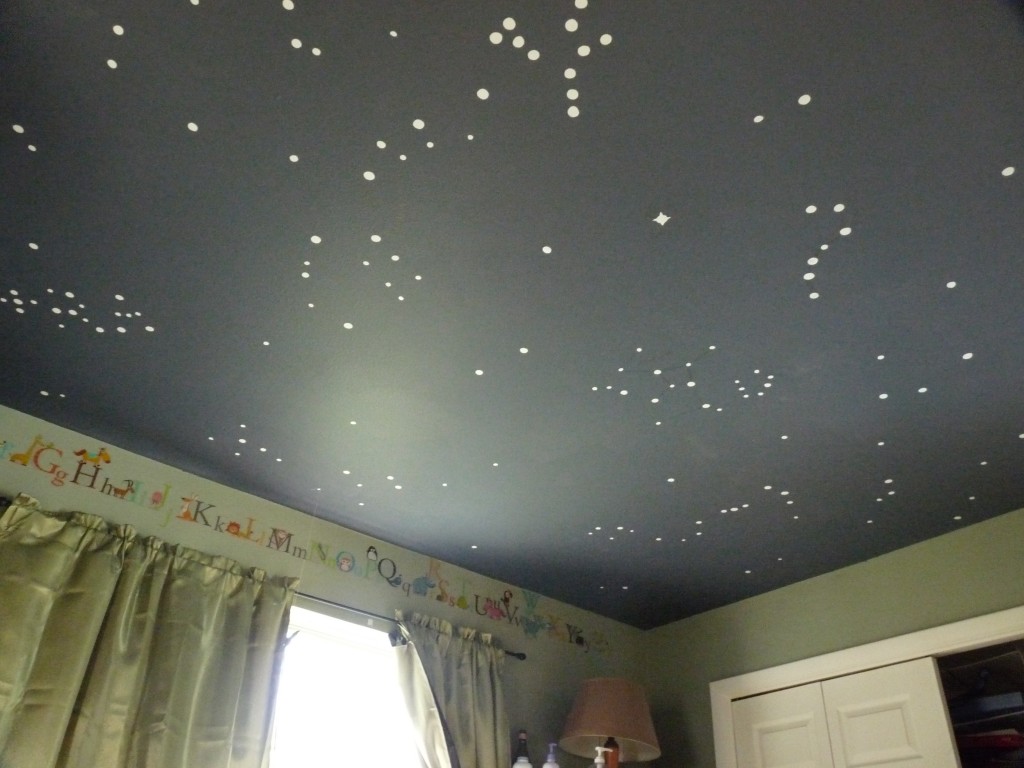
Then we just stuck them up.

The Night Sky


The result is truly lovely. When rocking my little one to sleep I feel like we are out under the stars. It helps to remind me to thank God and give Him the glory every night.

Don’t be selfish . . .
Stuffed Animals to Stuffing.

Don’t be selfish . . .
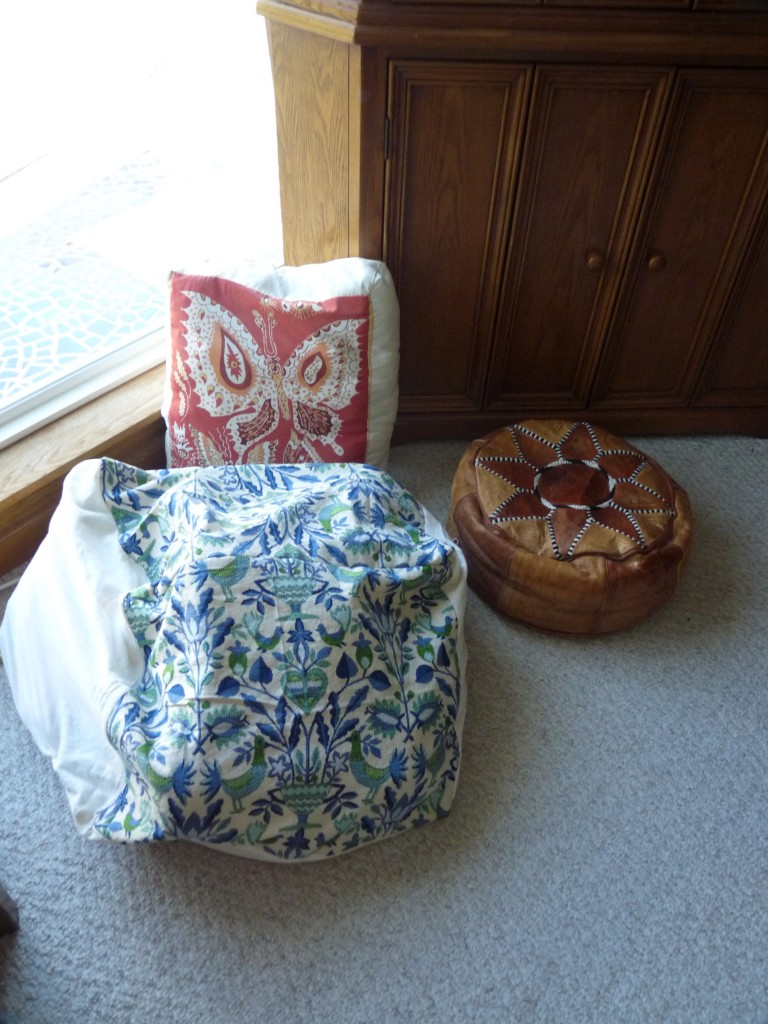
Stuffed Animals to Stuffing.I have seen where other bloggers have purchased bean bag covers from Bed Bath and Beyond or The Pottery Barn for a reasonable price and used them to store their kids stuffed animals. But I am CHEEP!

My daughter is a social little critter. This results in all her toys being drug out into the great room. I have been trying different methods of attractively storing her toys but few have worked out, or been durable enough to last.

I have A LOT of scrap fabric. She has a lot of stuffed animals. They went together nicely… and so far the solution has worked.

Stuffed Animals to Stuffing.

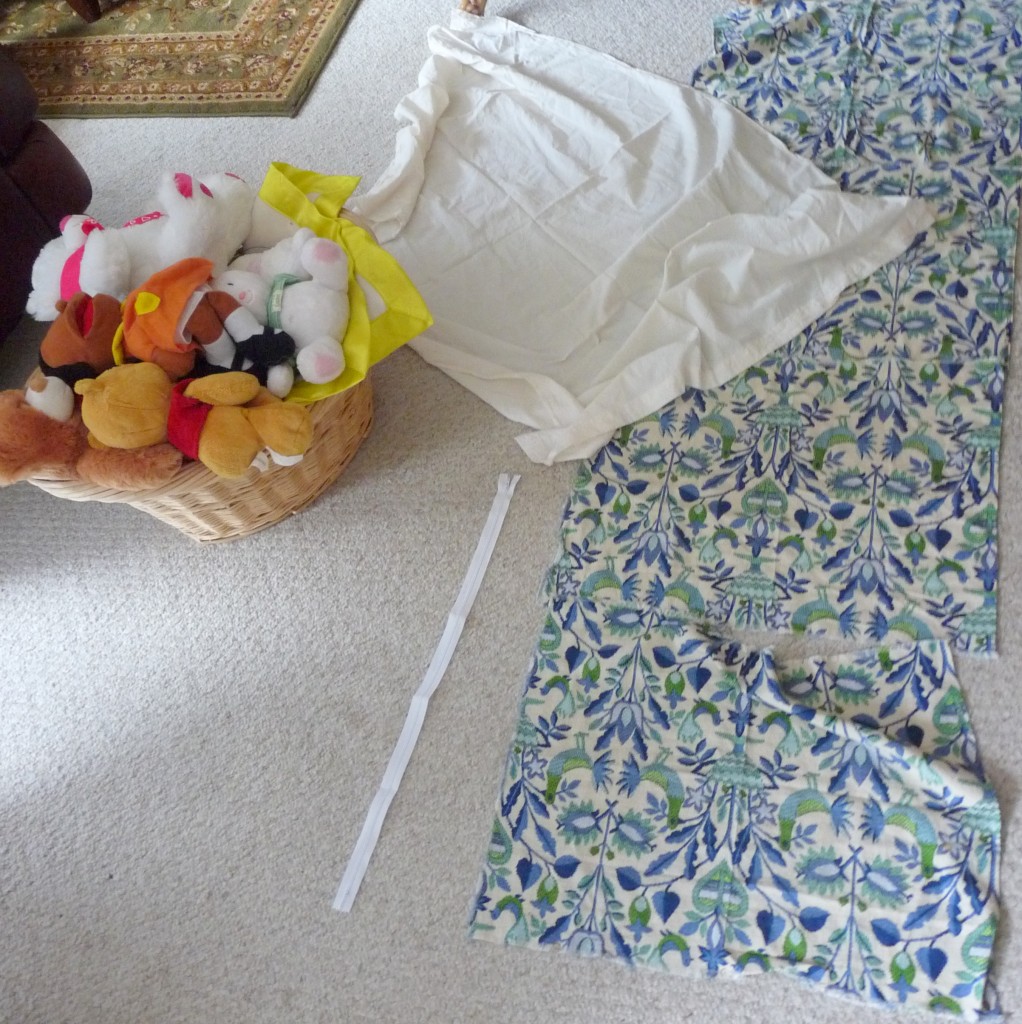
Buy a long zipper. Mine is 24 inches. Gather your scrape material and lay it out in a way that you can get an idea for how big your bag will be. My scrapes were not enough to make the size bag I wanted so I added in simple muslin.

Stuffed Animals to Stuffing.

Sew the shape you want. I wanted a cube because sphere bean bags are too common.  Sew the zipper in along one of the seams.

Stuffed Animals to Stuffing.

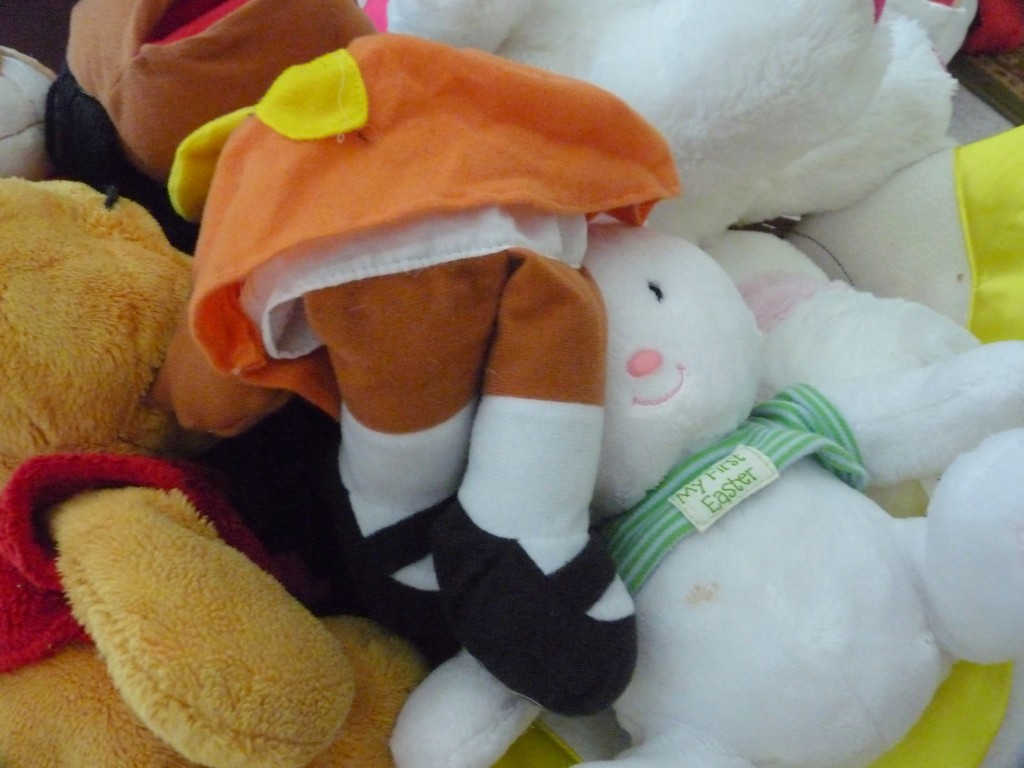
Next stuff all those cute little critters in it.

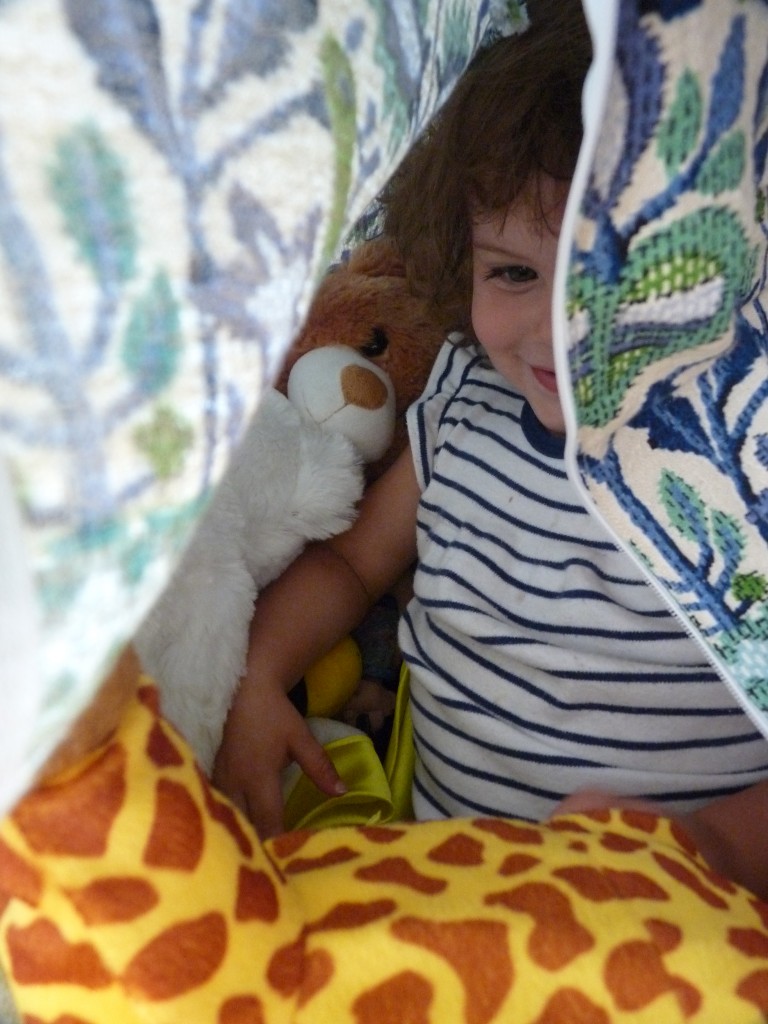
*WARNING* Remove child before closing Stuffed Animals to Stuffing.

Don’t be selfish . . .